A good camp setup is mostly a sequence of small decisions made while you still have daylight. This guide assumes a permitted, established campsite and a conventional tent. Follow the campsite’s rules and the equipment instructions whenever they are more specific than this general workflow.
Prepare your setup kit
Pack the shelter components together and check them before travelling. Keep the instructions available offline, even if the tent seems intuitive. Include the guylines and stakes specified for your shelter; a calm arrival does not describe the whole night.
Agree who will pitch, organize bedding and handle food. The tasks can happen in parallel once the site is chosen, but opening every bag immediately makes it harder to notice a missing item.
Step 1 — Read the site
Use a designated tent pad where one is provided. Check drainage, overhead hazards, access paths and posted restrictions before placing equipment. Do not rearrange vegetation or dig channels to make a site fit your tent.
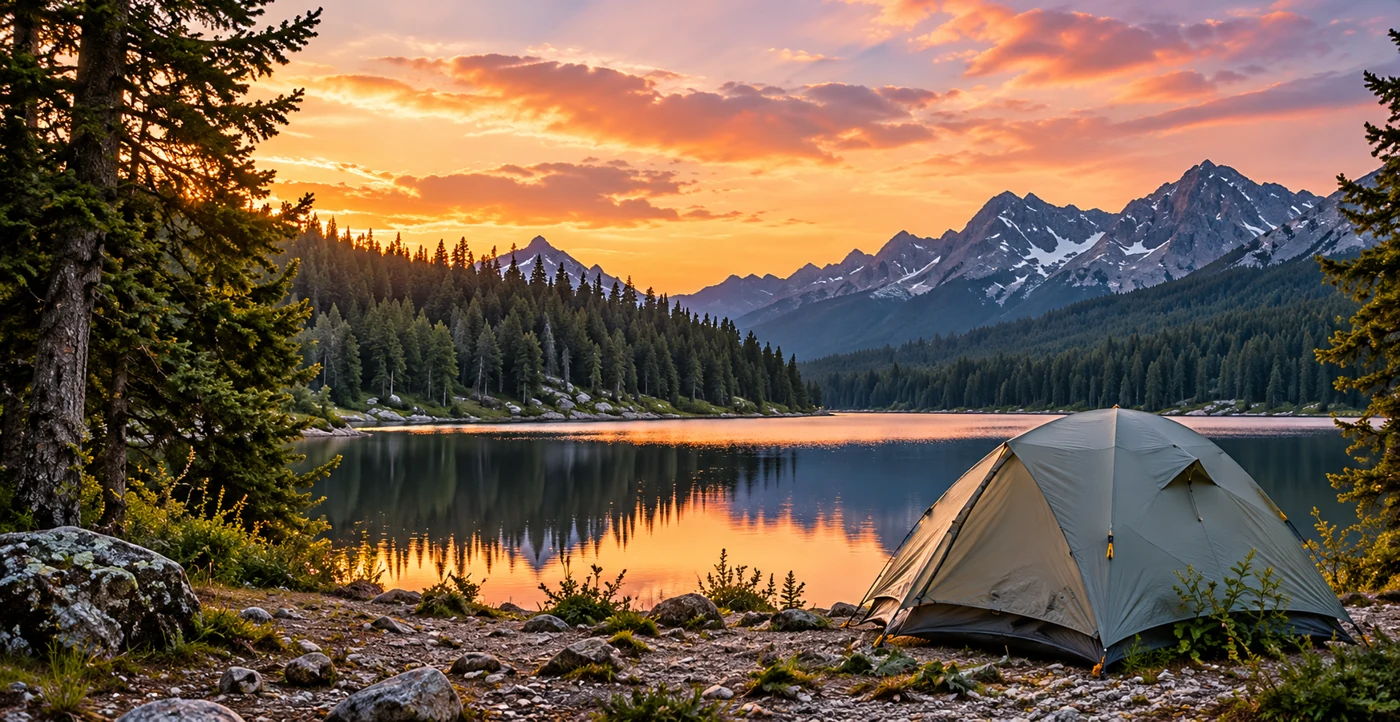
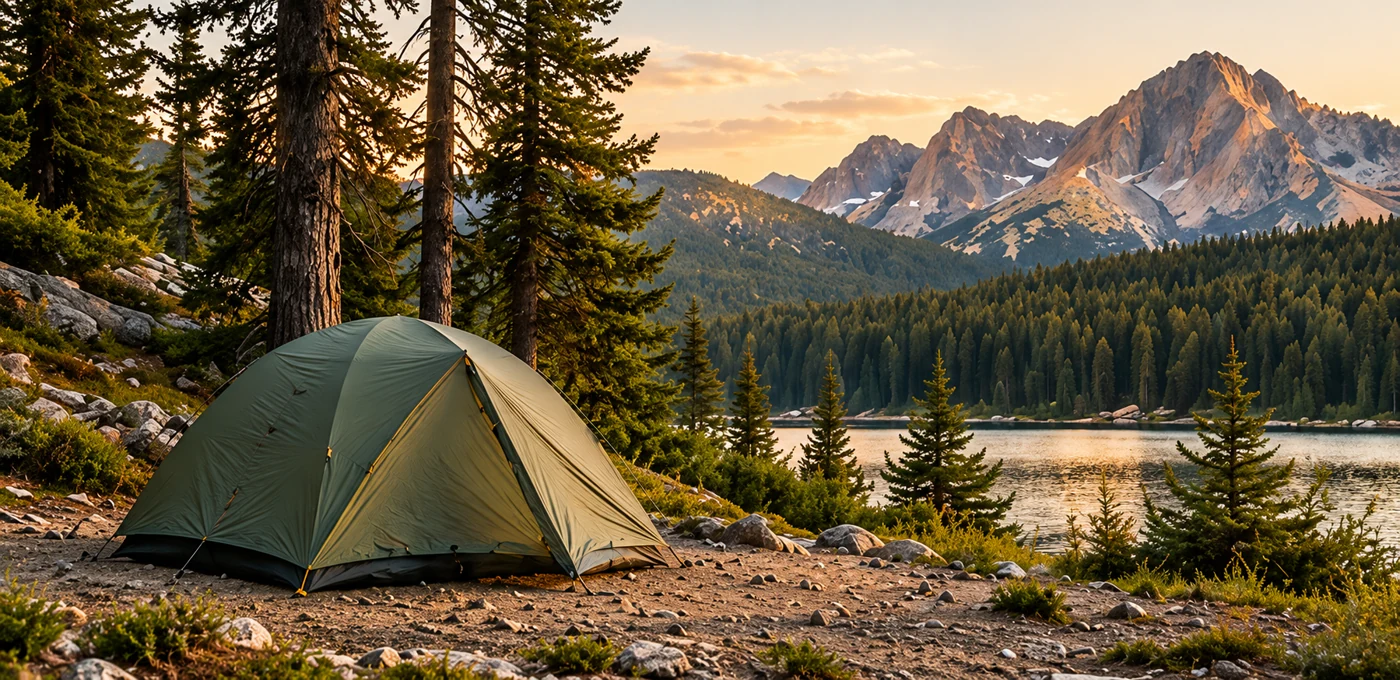
Leave No Trace recommends using established durable surfaces and, where applicable, camping at least 200 feet from lakes and streams. Follow local requirements and designated-site instructions. The lake scenes on this site are illustrative; they are not instructions to camp at the water’s edge.
Step 2 — Pitch and secure the shelter
Lay out the components in a controlled space so small pieces do not disappear. Assemble the tent according to its instructions, then secure the fly and guylines as directed. Keep entrances accessible and avoid stretching fabric into a shape the pole system does not support.
Check that your footprint, if used, sits correctly under the floor. Walk around once to find loose attachments, obstructed doors or awkward guyline crossings. Put spare parts back in a known pocket.
Step 3 — Set up the sleeping area
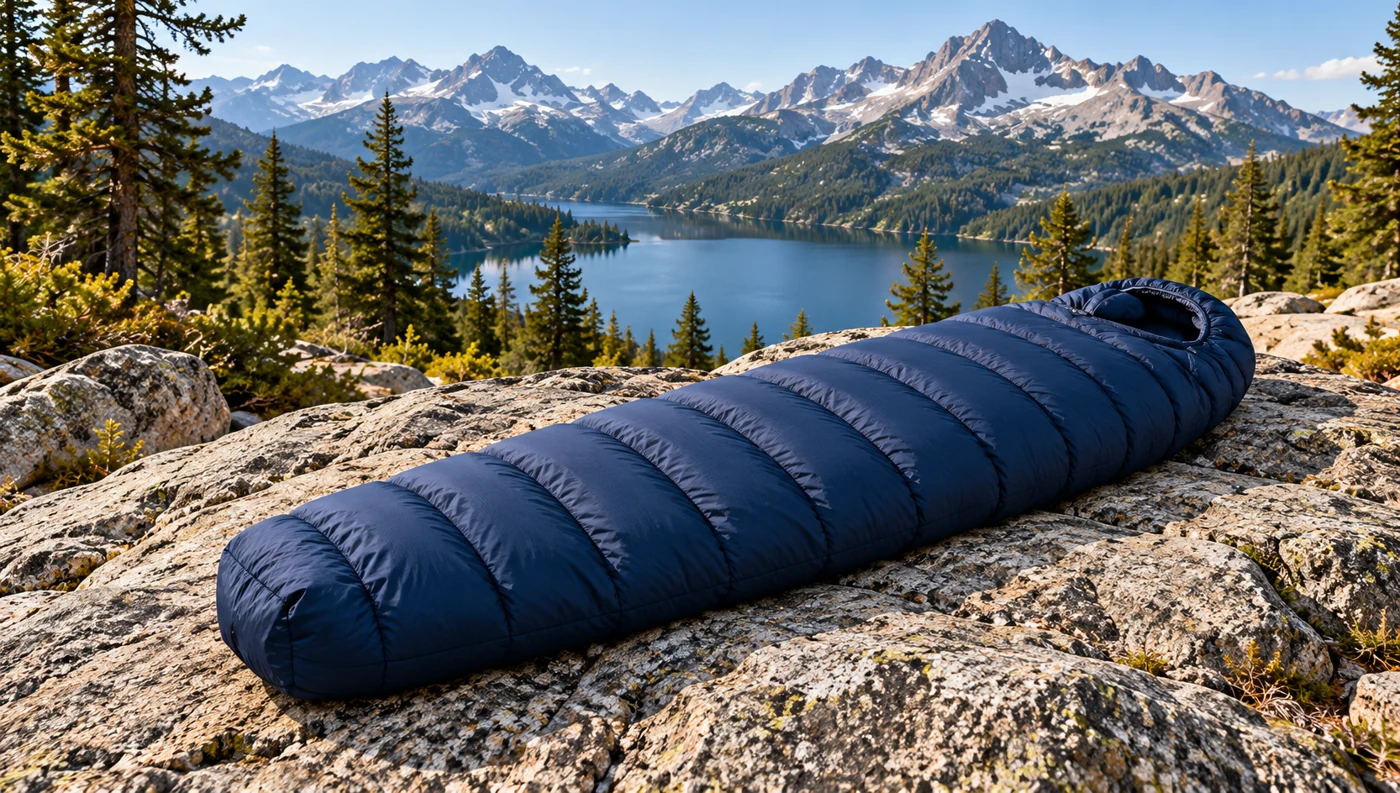
Place the pad and bedding inside while they are dry. Keep the entrance organized so wet footwear and muddy equipment are not moved across the sleeping area. Store the headlamp where you can find it by touch.
Try the sleeping position before dark. A bag that bunches against the wall or a pad that blocks the door is easier to reposition now than after the rest of the camp is packed around it.
Step 4 — Organize food and shared equipment
Use the location and storage method required by the campground for food and scented items. Keep cooking equipment outside the tent and use it only according to its manufacturer’s directions and local rules.
Set a clear place for water, rubbish and shared utensils. Return items there after use. A simple shared layout reduces repeated searching and helps the group see what still needs cleaning or securing.
Step 5 — Make a final circuit
Before dark, recheck shelter attachments, locate your night-time essentials and confirm that food and rubbish are secured. Leave a clear route to the exit. In the morning, pack systematically and inspect the ground for small items.
Avoid leaving a wet shelter packed longer than necessary. Once home, dry and inspect equipment before storing it. Record any missing or damaged parts while you remember them.
Checklist and common mistakes
- Bring the complete shelter, pad, bedding, headlamp, approved storage, water and cleanup supplies.
- Do not pitch simply for a photograph; assess the surface and applicable rules first.
- Avoid blocking paths or other campsites with guylines and equipment.
- Keep cooking and fuel use outside sleeping shelters, following equipment instructions.
- Finish with a small-item sweep: stakes, caps, clips, wrappers and cord.
Sources & verification
Sources checked October 21, 2026. Specifications and general guidance can change; consult the current source for the exact product or destination.
Written with AI assistance. Original editorial explanations; no claimed personal field experience. Editorial policy · Suggest a correction